像素画:

需要用到的包:
进度条:progressbar
pip install progressbar -i http://mirrors.aliyun.com/pypi/simple/ --trusted-host mirrors.aliyun.com
excel:操作包openpyxl
pip install openpyxl -i http://mirrors.aliyun.com/pypi/simple/ --trusted-host mirrors.aliyun.com
食用指南:
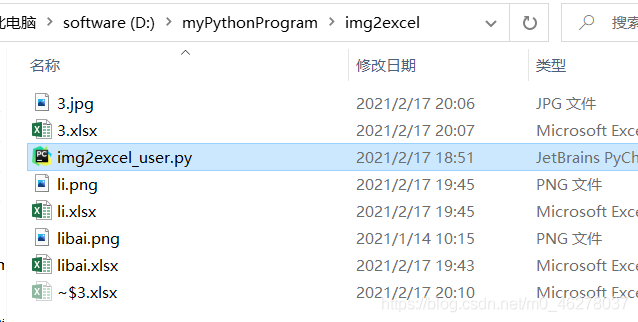
文件目录:
运行:
进入程序img2excel_user.py 所在目录,输入:
python img2excel_user.py 图片地址 excel保存地址(要加上excel名字)
例如:
python img2excel_user.py D:\\myPythonProgram\\img2excel\\3.jpg D:\\myPythonProgram\\img2excel\\3.xlsx
注意:
进入二级目录的方法:cd .\\文件夹名

若图片太大,生成的文件会打不开,所以准备的图片不能太大:

源码:
# -*- coding: utf-8 -*-

from PIL import Image
import openpyxl
import openpyxl.styles
from openpyxl.styles import PatternFill
from openpyxl.utils import get_column_letter
from progressbar import *

def RGB_to_Hex(rgb):
 \"\"\"
 RGB颜色转换成16进制颜色
 :param rgb:
 :return:
 \"\"\"
 RGB = rgb.split(\',\') # 将RGB格式划分开来
 color = \'\'
 for i in RGB:
 num = int(i)
 # 将R、G、B分别转化为16进制拼接转换并大写 hex() 函数用于将10进制整数转换成16进制,以字符串形式表示
 color += str(hex(num))[-2:].replace(\'x\', \'0\').upper()
 return color

def img2excel(img_path,excelout_path):
 \"\"\"
 图片转换成excel
 :param img_path: 图片地址
 :param excelout_path: excel保存地址
 :return:
 \"\"\"
 img_src = Image.open(img_path)
 #宽高
 img_width=img_src.size[0]
 img_height=img_src.size[1]
 print(\"图片宽%s,高%s\"%(img_width,img_height))
 # 类型
 # print(img_src.mode)
 if img_src.mode != \"RGB\":
 img_src = img_src.convert(\'RGB\')

 str_strlist = img_src.load()
 wb=openpyxl.Workbook()
 wb.save(excelout_path)
 wb=openpyxl.load_workbook(excelout_path)
 sheet=wb[\"Sheet\"]
 sheet.title=\"img2excel\"
 cell_width = 1.0
 cell_height = cell_width * (2.2862 / 0.3612)
 print(\"正在疯狂生成excel,请耐心等待...\")
 #进度条
 widgets=[\'进度:\',Percentage(),\'\',Bar(\'#\'),\'\',Timer(),\' \', ETA(), \' \']
 pb=ProgressBar(widgets=widgets)
 for w in pb(range(img_width)):
 for h in range(img_height):
 data = str_strlist[w,h]
 # 把元组rgb颜色变成字符串,转换成16进制颜色(1,2,3)-->\'1,2,3\'
 color=str(data).replace(\"(\",\"\").replace(\")\",\"\")
 #16进制的颜色,不带前面#号的,要#自己拼接到color前面即可
 color=RGB_to_Hex(color)
 # 设置填充颜色为color,solid参数表示填充实色
 fille=PatternFill(\"solid\",fgColor=color)
 sheet.cell(h+1,w+1).fill=fille
 print(\"生成完成,正在设置单元格格式...\")
 for i in range(1, sheet.max_row+1):
 sheet.row_dimensions[i].height=cell_height
 for i in range(1, sheet.max_column+1):
 sheet.column_dimensions[get_column_letter(i)].width = cell_width
 print(\'格式设置完成,正在保存excel...\')
 wb.save(excelout_path)
 img_src.close()
 print(\"保存excel成功!请打开[%s]查看\"%excelout_path)


if __name__==\'__main__\':
 import sys,os
 if len(sys.argv)!=3:
 print(\"请输入图片地址和excel保存的地址\\n\"
 \"例如命令行输入 python img2excel_user.py D:/result.png D:/outExcel.xlsx\")
 sys.exit(0)
 else:
 img_virify=[\'.jpg\',\'.png\',\'.gif\',\'.bmp\',\'.jpeg\',\'.jpe\',\'.jfif\']
 excel_virify=[\'.xlsx\',\'.xlsm\',\'.xltx\',\'.xltm\']

 # 图片地址
 img_path=sys.argv[1]
 # excel保存地址
 excelout_path=sys.argv[2]

 endName=os.path.splitext(img_path)
 if endName[1] not in img_virify:
 print(\"请选择支持的图片类型\",img_virify)
 sys.exit(0)

 endName_excel=os.path.splitext(excelout_path)
 if endName_excel[1] not in excel_virify:
 print(\"excel 格式不支持,请选择支持的格式\",excel_virify)
 sys.exit(0)
 img2excel(r\"\"+img_path+\"\",excelout_path)
运行:

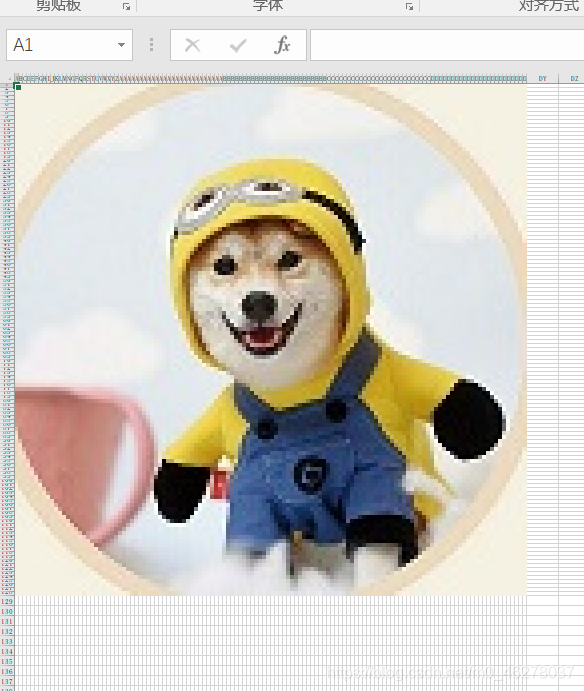
原图:

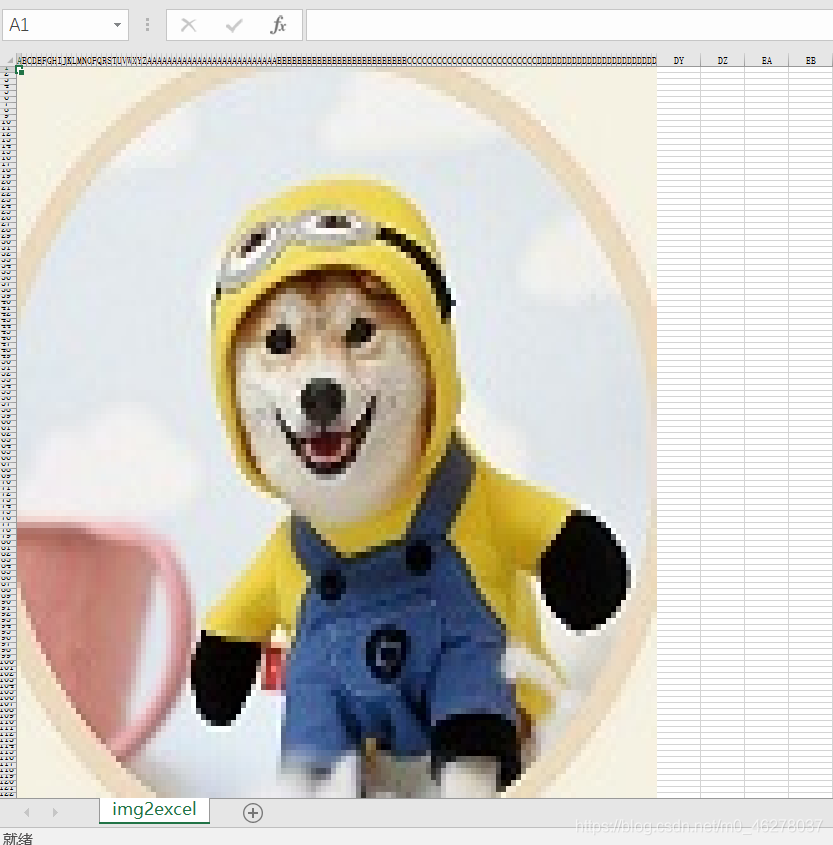
效果图:

总结
到此这篇关于python读取图片颜色值并生成excel像素画的文章就介绍到这了,更多相关python读取图片颜色值生成excel像素画内容请搜索自学编程网以前的文章或继续浏览下面的相关文章希望大家以后多多支持自学编程网!